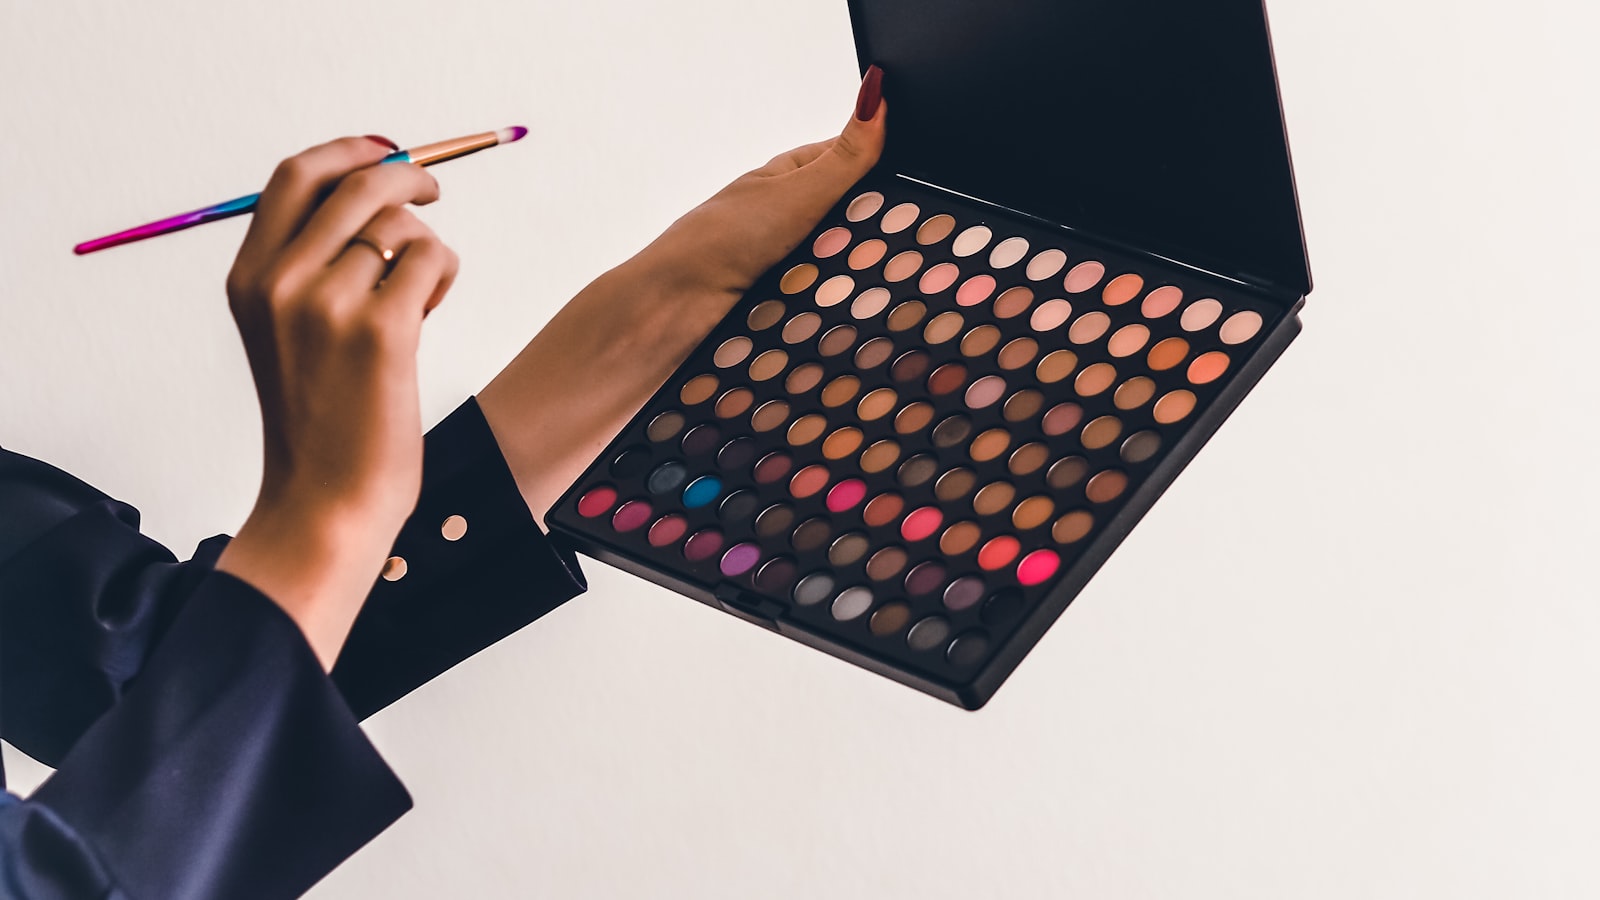
Blush is the most underrated step in a routine. A whisper of color on the cheeks can make you look awake, healthy, and a little bit lit from within, all in about ten seconds. The catch is that blush is also easy to overdo, which is why so many people quietly avoid it.
Why Blush Earns Its Spot#
When you are tired, your face loses some of its natural color and can look flat. Blush quietly puts that color back. It is the difference between makeup that looks complete and makeup that looks like something is missing. Even if you skip everything else, a touch of blush often does more for a tired face than concealer does.
It also warms up the rest of your makeup. A neutral, bare face can read a little serious, and a soft flush brings it back to life. This is why makeup artists reach for blush so often, even on otherwise minimal looks. It is doing emotional work, not just adding pigment.
The reason people fear it is simple: most of us were taught to use far too much. A heavy hand turns a flush into two obvious circles. Once you learn to go light and place it well, blush becomes one of the easiest, most flattering things you can do.
Finding Your Placement#
Placement is where the magic happens, more than shade or formula. The classic spot is the apples of your cheeks. To find them, give a genuine smile in the mirror. The rounded part that lifts is your apple, and that is where natural color lives when you blush for real.
From the apple, sweep the color up and slightly out toward the top of your ear. This little lift visually raises the face and keeps the blush from dragging your features down. Avoid bringing it too low or too close to your nose, which can look heavy and a bit unwell rather than fresh.
Aim the color up toward your temples, not down toward your jaw, and your whole face looks gently lifted.
Faces differ, so treat this as a starting point, not a law. If you have rounder cheeks, placing blush a touch higher can be flattering. If your face is longer, keeping it more on the apples adds width. Experiment over a few days and notice what makes you look most like a rested version of yourself.
Cream Versus Powder#
Both formulas are lovely, and the right one depends on your skin and your hands. Cream blush gives a dewy, skin-like finish and blends beautifully with fingertips, which makes it forgiving and natural. It tends to suit drier or normal skin especially well because it adds a little glow rather than sitting flat.
Powder blush gives a softer, more diffused finish and is easy to build in light layers with a brush. It plays nicely with skin that runs oily, and it layers cleanly over a powdered base. Here is the order that keeps things smooth: cream products go on bare or freshly moisturized skin, and powder products go on top of powder. If you put powder blush over a creamy face, it can grab and look patchy.
Whichever you choose, the application principle is the same. Tap off excess, build slowly, and blend the edges so there is no hard line. With cream, that means pressing and patting with your fingers. With powder, that means a soft, fluffy brush and a light swirling motion. You can always add more color, but taking it back is a hassle, so start with less than you think you need.
A Simple Step-By-Step#
Once you know placement and formula, the actual routine is quick. Keep your brush or fingers light and your mirror at arm's length so you can see your whole face, not just one cheek.
- Smile to find the apples of your cheeks and keep that spot in mind.
- Pick up a tiny amount of product, then tap off any excess on your hand.
- Apply to the apple first, then sweep up toward the temple.
- Blend the edges softly so the color fades out with no visible border.
- Step back, check both cheeks match, and add a little more only if needed.
That last step matters more than people expect. We always apply more enthusiastically to one side. Looking at your face as a whole, from a normal distance, catches any imbalance before you walk out the door.
Keep It Honest and Easy#
If you do go too heavy, do not panic and do not scrub. Press a clean fingertip or a touch of foundation over the area to soften it, or buff it down with a clean fluffy brush. With cream blush, gently patting with a damp sponge tones it right back. Mistakes are easy to fix, which is part of why blush is so beginner-friendly.
There is no single perfect shade, either. Soft pinks, peaches, and warm berries flatter a wide range of skin tones, and the safest bet is often a color close to how your cheeks already flush. Do not let anyone convince you that you need a drawer full of blushes. One or two that you love will cover almost every occasion.
In the end, blush is meant to be the fun, low-stakes part of makeup. Smile, place it on the apples, sweep it up, blend, and you are done. Go lightly, trust that a little does a lot, and you will get that natural, healthy glow without the worry of overdoing it.